Complete the installation
Verify that the device is set up
correctly
1. Print a document from an application that you use
frequently.
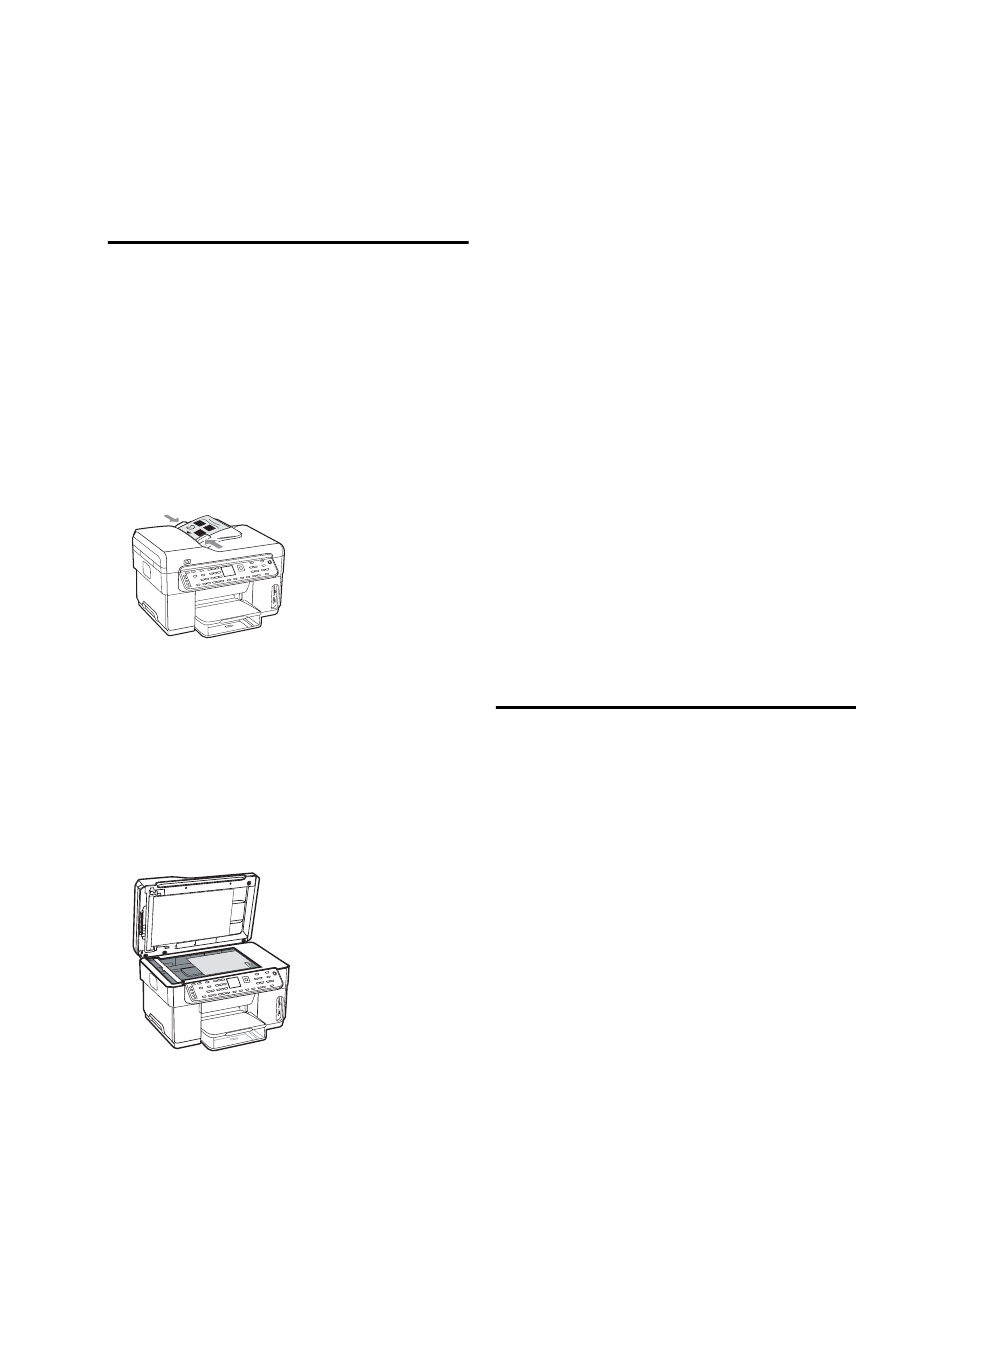
2. Place the document in the document feeder tray with
the print-side facing up and the first page on top.
3. Adjust the width adjusters to the size of the
document.
4. Press START COPY Black or START COPY Color.
The device makes a copy of the document. If you
encounter problems, see “Solving installation
problems” on page 22.
5. Remove the document from the ADF output tray.
6. Open the flatbed scanner lid.
7. Place the first page of the document print-side down
on the scanner glass with the top-left corner of the
document located in the lower-right corner of the
glass.
8. Close the flatbed scanner.
9. Press START COPY Black or START COPY Color.
The device makes a copy of the document. If you
encounter problems, see “Solving installation
problems” on page 22.
Verify that the device software is
installed correctly
To verify that the device software has been installed
correctly, start the software and complete basic tasks
(such as printing a document or sending a scan to your
computer).
To open the HP Photosmart software
(Windows)
1. On the Windows desktop, double-click the
HP Photosmart software icon.
2. If you have more than one HP device installed, select
the appropriate tab for your device.
To open the HP Photosmart Studio software
(Mac OS)
1. Click the HP Photosmart Studio icon in the Dock.
2. Click Device, and then choose a device.
For more information about using the device software,
see the online help for the software.
Register the device
If you have not already done so, go to
www.register.hp.com and register the device.